AWS Key Management Service (KMS)
AWS Key Management Service (KMS) makes it easy for users to create and manage keys and control the use of encryption across a wide range of AWS services and in their applications. AWS KMS is a secure and resilient service that uses FIPS 140-2 validated hardware security modules to protect their keys. AWS KMS is integrated with AWS CloudTrail to provide users with logs of all key usage to help meet their regulatory and compliance needs.
Amazon configuration
Create a new S3 bucket. (If you want to use an already created one, skip this step).
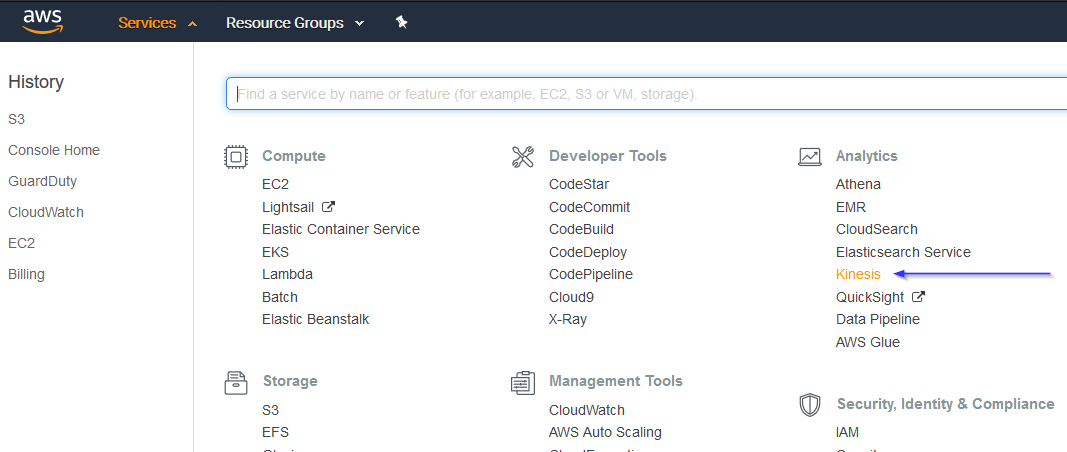
Go to Services > Analytics > Kinesis:
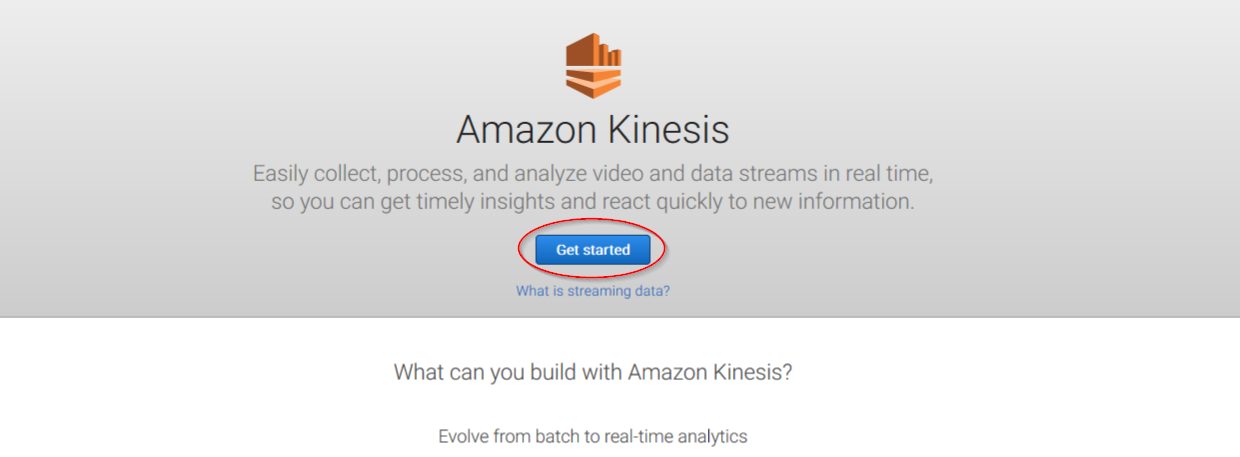
If it's the first time you're using this service, you'll see the following screen. Just click on Get started:
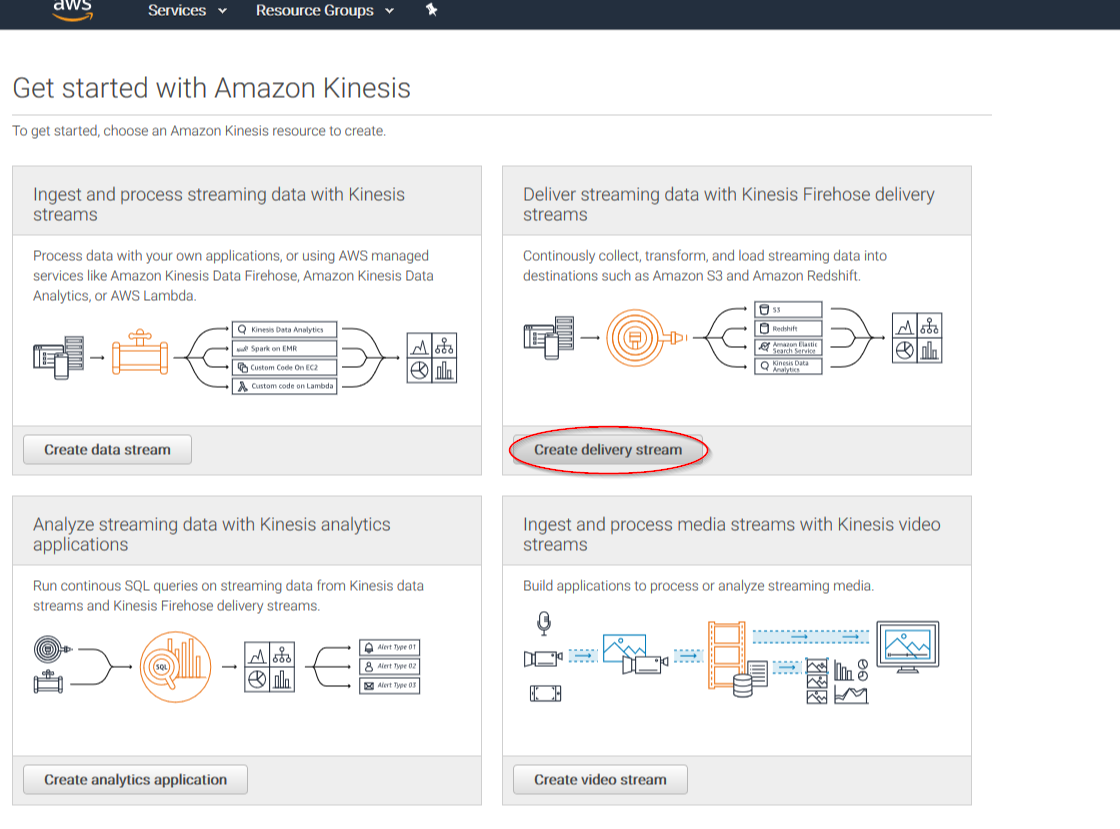
Click on Create delivery stream button:
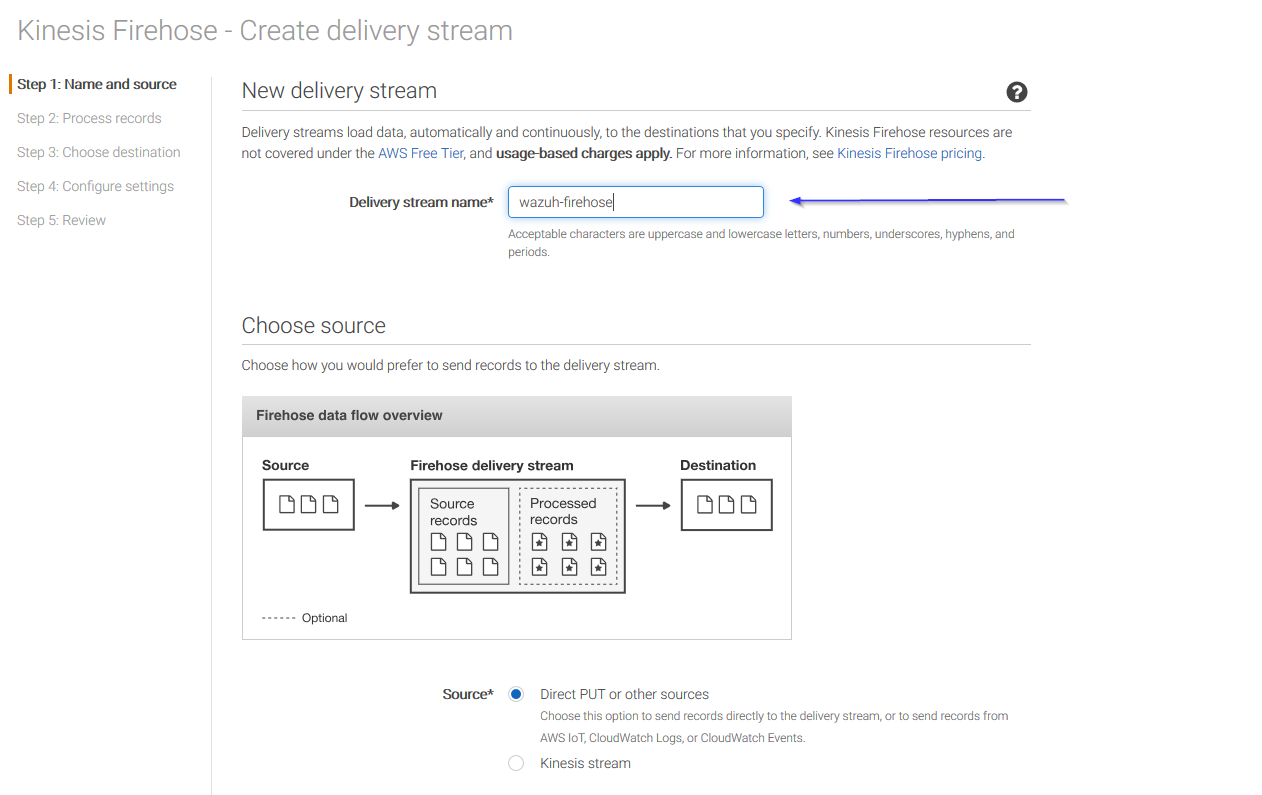
Put a name to your delivery stream and click on the Next button at the bottom of the page:
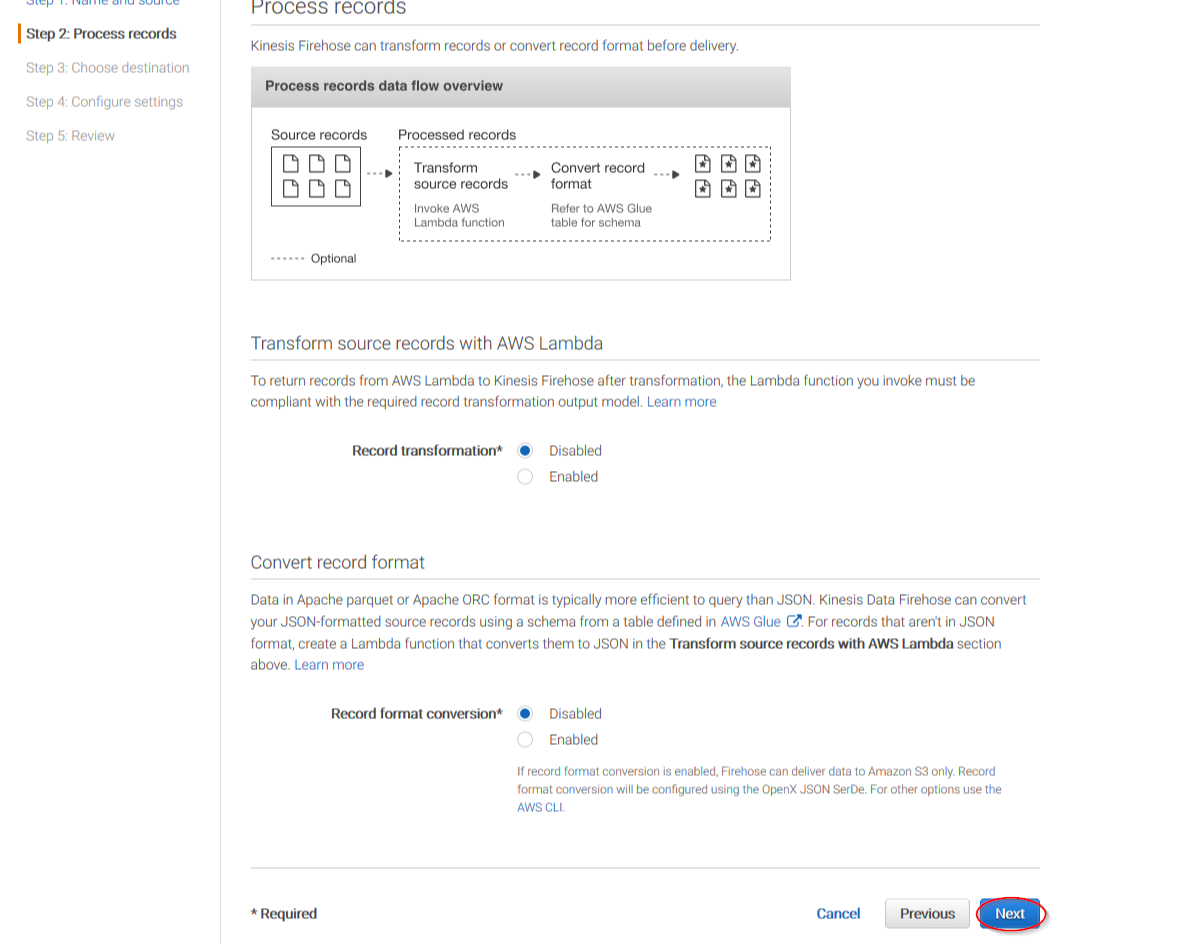
On the next page, leave both options as Disabled and click on Next:
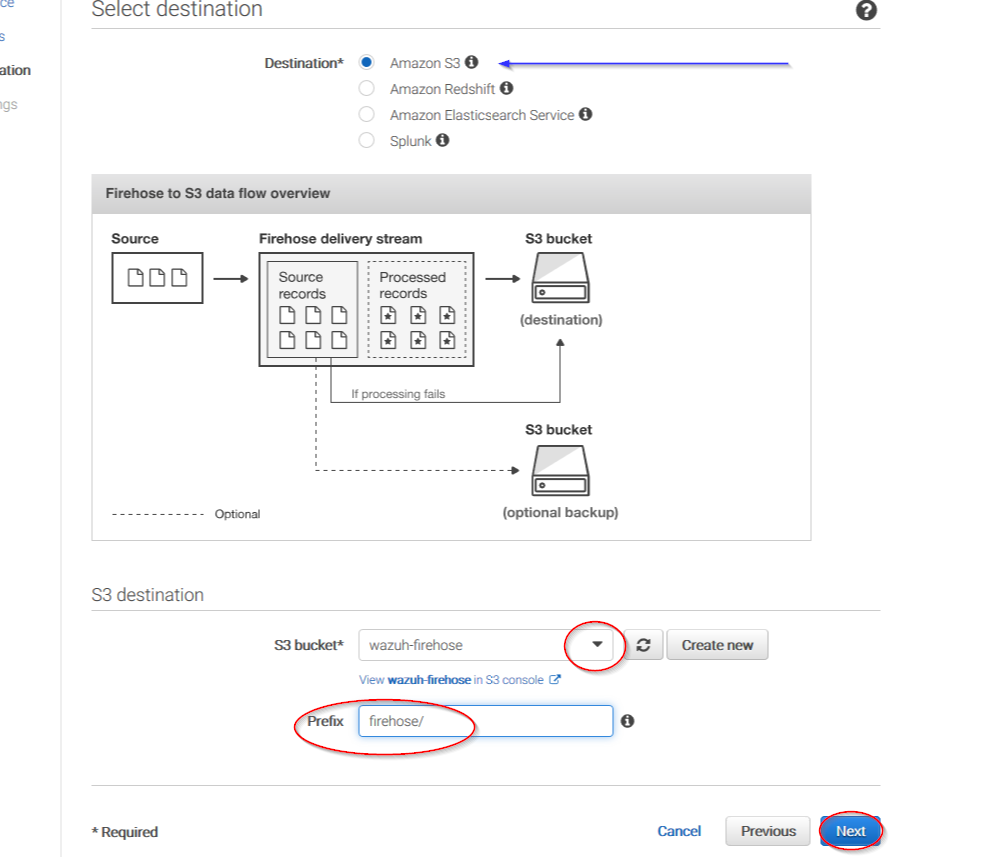
Select Amazon S3 as the destination, then select the previously created S3 bucket and add a prefix where logs will be stored. AWS Firehose creates a file structure YYYY/MM/DD/HH, if a prefix is used the created file structure would be firehose/YYYY/MM/DD/HH. If a prefix is used it must be specified under the ThreatLockDown Bucket configuration:
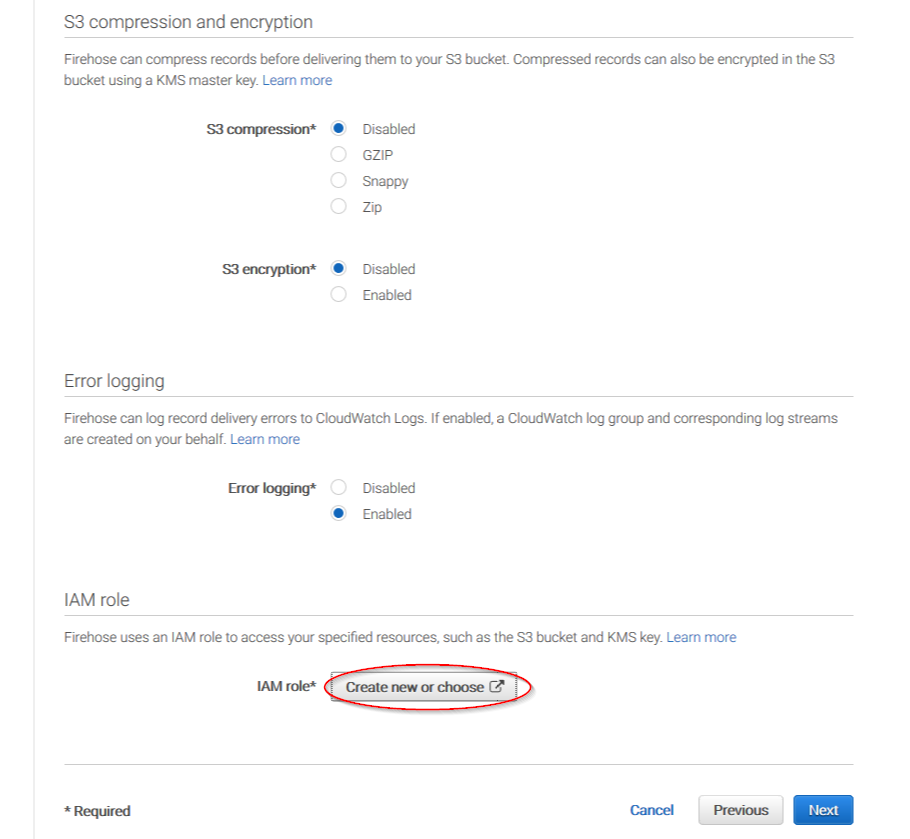
Users can select the compression they prefer. ThreatLockDown supports any kind of compression but Snappy. After that, click on Create new or choose
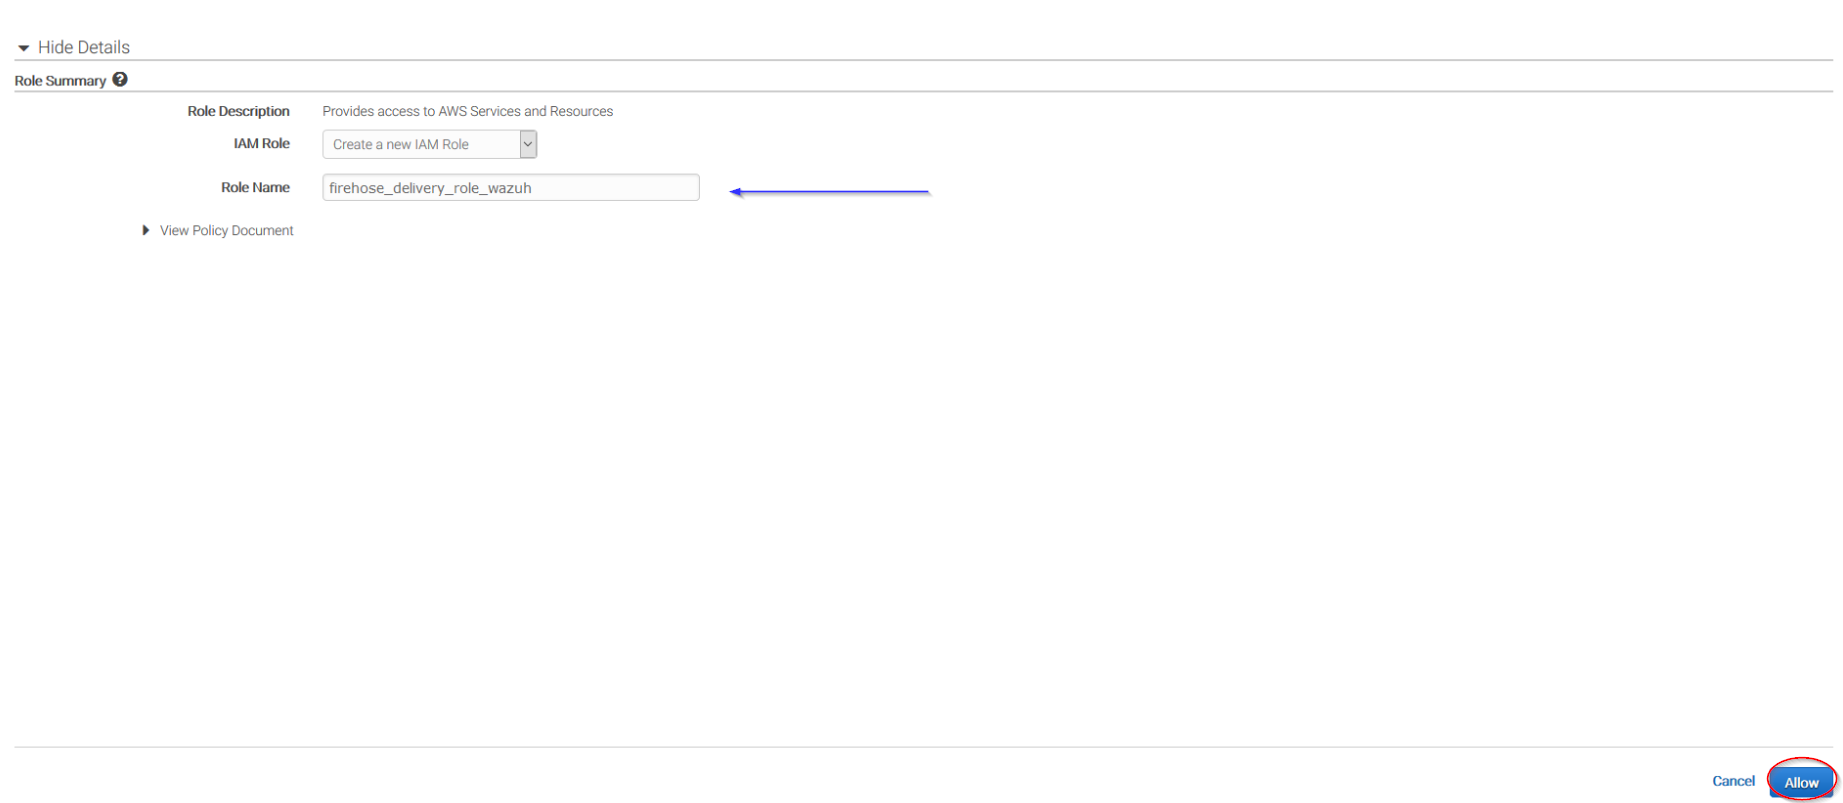
Give a proper name to the role and click on the Allow button:
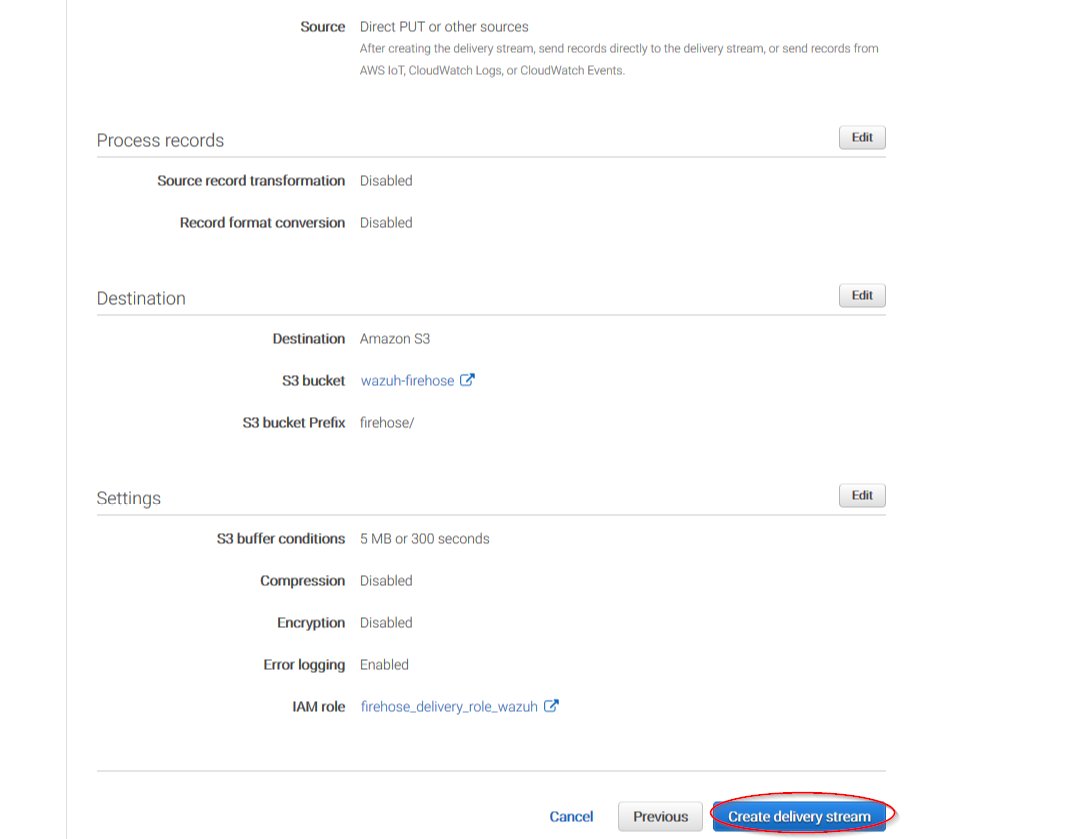
The following page is just a summary of the Firehose stream created, go to the bottom of the page and click on the Create delivery stream button:
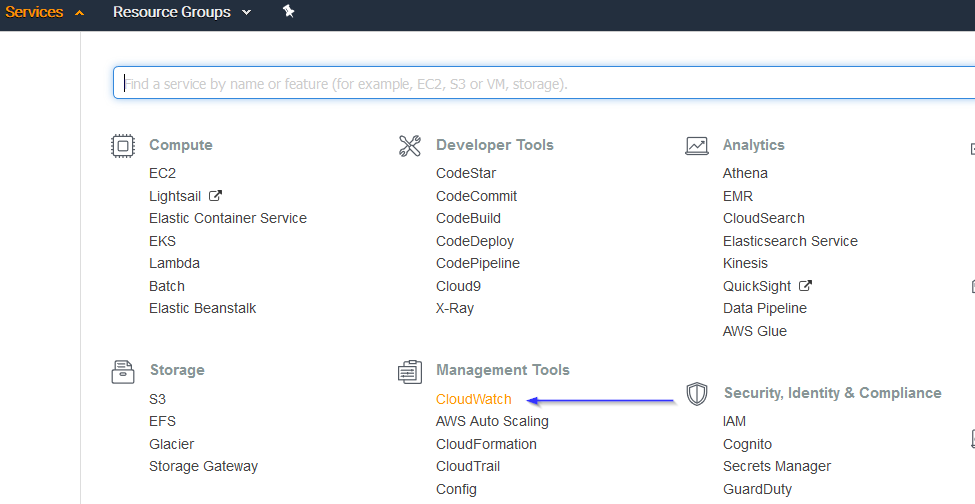
Go to Services > Management Tools > CloudWatch:
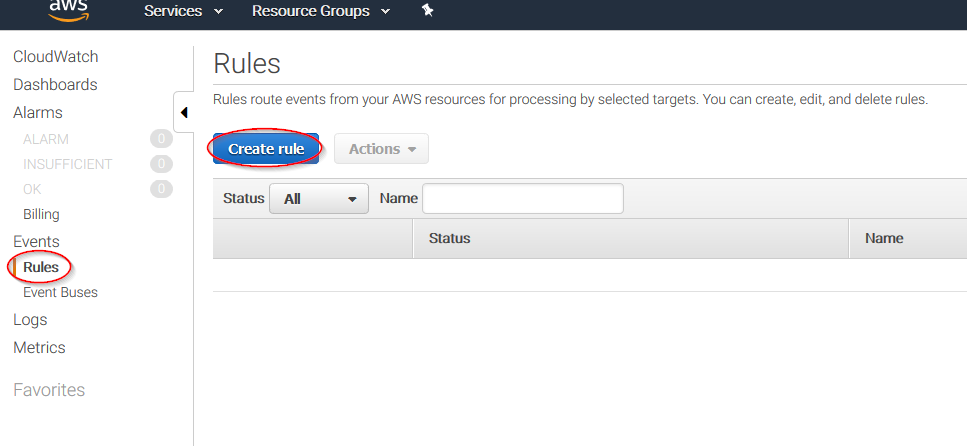
Select Rules on the left menu and click on the Create rule button:
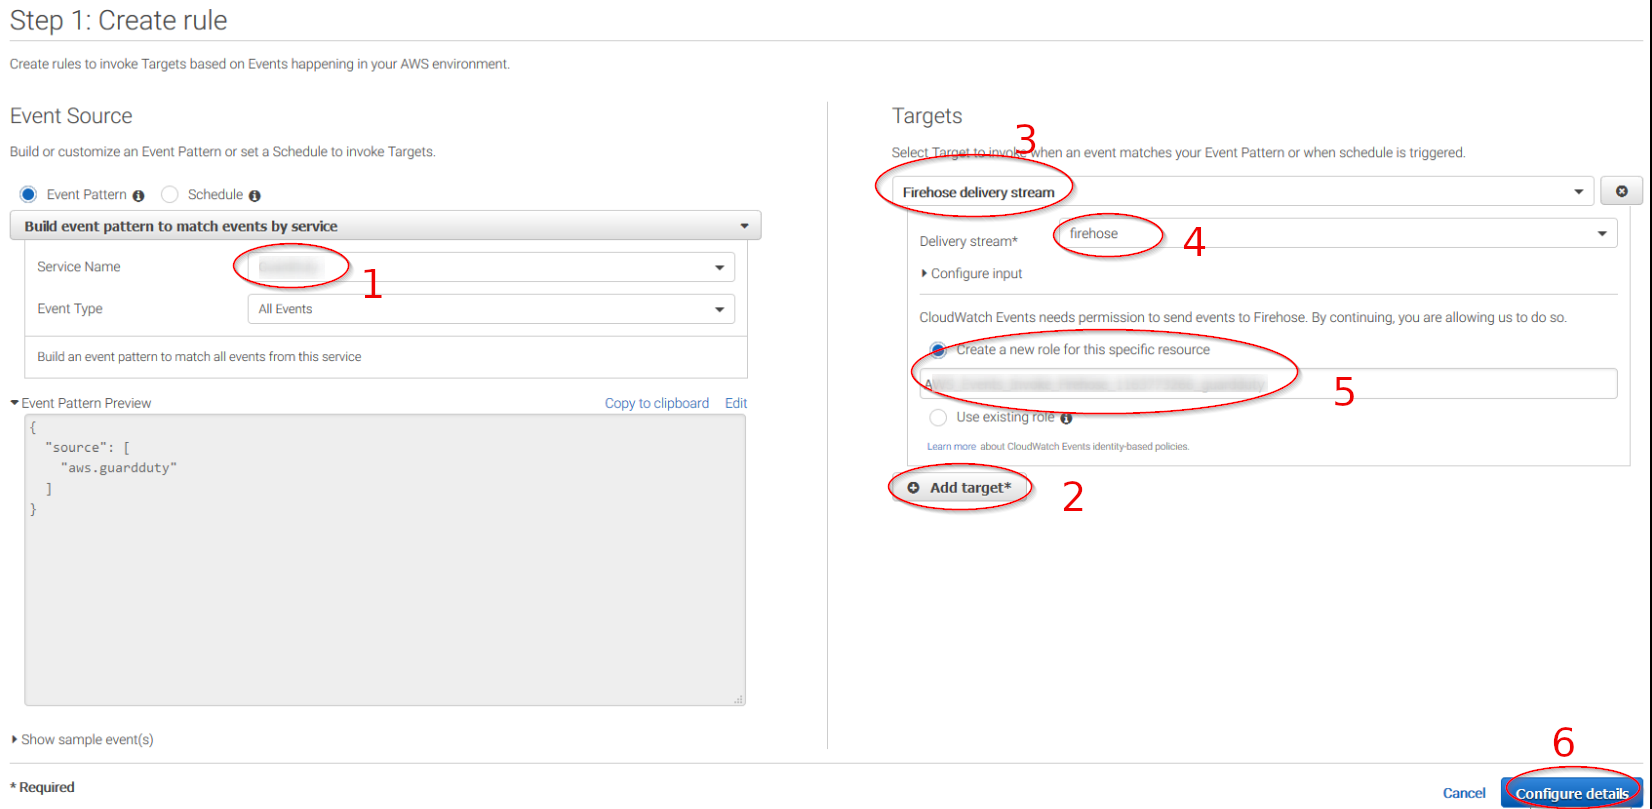
Select the services you want to get logs from using the Service name slider, then, click on the Add target button and add the previously created Firehose delivery stream there. Also, create a new role to access the delivery stream.
Give the rule some name and click on the Create rule button:

Once the rule is created, data will start to be sent to the previously created S3 bucket. Remember to first enable the service you want to monitor, otherwise, you won't get any data.
Policy configuration
To create a policy using the Amazon Web Services console, follow the AWS documentation.
Take into account that the policies below follow the principle of least privilege to ensure that only the minimum permissions are provided to the ThreatLockDown user.
To allow an AWS user to use the module with read-only permissions, it must have a policy like the following attached:
 {
     "Version": "2012-10-17",
     "Statement": [
         {
             "Sid": "VisualEditor0",
             "Effect": "Allow",
             "Action": [
                 "s3:GetObject",
                 "s3:ListBucket"
             ],
             "Resource": [
                 "arn:aws:s3:::<bucket-name>/*",
                 "arn:aws:s3:::<bucket-name>"
             ]
         }
     ]
 }
If it is necessary to delete the log files once they have been collected, the associated policy would be as follows:
{
     "Version": "2012-10-17",
     "Statement": [
         {
             "Sid": "VisualEditor0",
             "Effect": "Allow",
             "Action": [
                 "s3:GetObject",
                 "s3:ListBucket",
                 "s3:DeleteObject"
             ],
             "Resource": [
                 "arn:aws:s3:::<bucket-name>/*",
                 "arn:aws:s3:::<bucket-name>"
             ]
         }
     ]
 }
Note
<bucket-name> is a placeholder. Replace it with the actual name of the bucket from which you want to retrieve logs.
Once a policy has been created, there are different methods available to attach it to a user, such as attaching it directly or to a group to which the user belongs. More information on how to perform those tasks on the AWS documentation.
ThreatLockDown configuration
Open the ThreatLockDown configuration file (
/var/ossec/etc/ossec.conf) and add the following block:<wodle name="aws-s3"> <disabled>no</disabled> <interval>10m</interval> <run_on_start>yes</run_on_start> <skip_on_error>yes</skip_on_error> <bucket type="custom"> <name>wazuh-aws-wodle</name> <path>kms_compress_encrypted</path> <aws_profile>default</aws_profile> </bucket> </wodle>
Note
Check the AWS S3 module reference manual to learn more about each setting.
Restart ThreatLockDown in order to apply the changes:
If you're configuring a ThreatLockDown manager:
# systemctl restart wazuh-manager
# service wazuh-manager restart
If you're configuring a ThreatLockDown agent:
# systemctl restart wazuh-agent
# service wazuh-agent restart