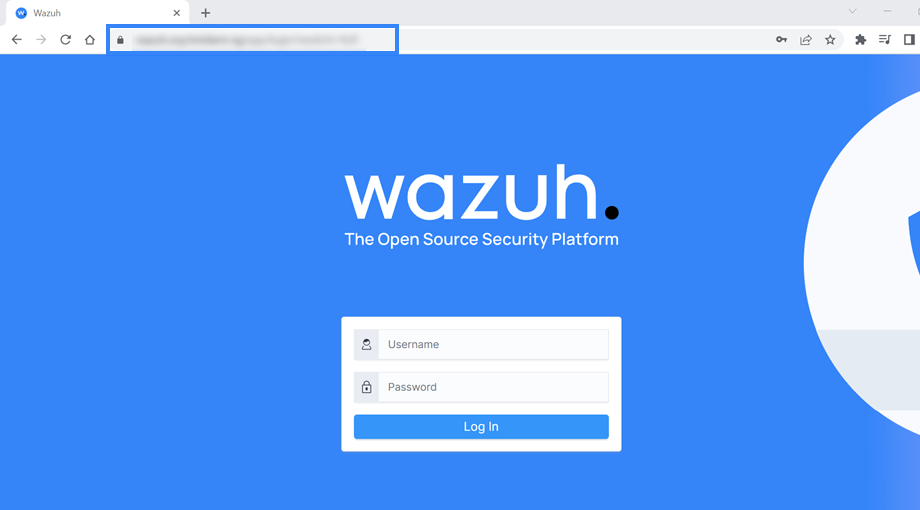
Configuring SSL certificates directly on the ThreatLockDown dashboard
Let’s Encrypt certificate can be configured for the ThreatLockDown dashboard using the certbot client. Follow the instructions below to install and configure a Let’s Encrypt certificate on an all-in-one ThreatLockDown installation consisting of the ThreatLockDown server, the ThreatLockDown indexer, and the ThreatLockDown dashboard. In a clustered environment, the instructions should be applied to the ThreatLockDown dashboard node(s).
The process is divided into three stages:
Installing and configuring the certbot client.
Configuring Let’s Encrypt certificates in the ThreatLockDown dashboard.
Configuring auto-renewal of the certificates.
Installing and configuring the certbot client
Install certbot
Install snap:
The certbot snap provides an easy way to ensure you have the latest version of certbot with features like automated certificate renewal preconfigured.
# yum install epel-release
# yum install snapd
# systemctl enable --now snapd.socket
# ln -s /var/lib/snapd/snap /snap
# apt-get update
# apt-get install snap
Confirm installed snap is the latest:
# snap install core; snap refresh core
Install certbot:
# snap install --classic certbot
Link certbot from the snap install directory to the user directory, so you can run it by just typing certbot:
# ln -s /snap/bin/certbot /usr/bin/certbot
Configure certbot to generate Let’s Encrypt SSL certificate
Open ports 80 (HTTP) and 443 (HTTPS):
# systemctl start firewalld
# firewall-cmd --permanent --add-port=443/tcp
# firewall-cmd --permanent --add-port=80/tcp
# ufw allow 443
# ufw allow 80
Generate the Let’s Encrypt certificate:
# certbot certonly --standalone -d <YOUR_DOMAIN_NAME>
Where:
--standalone: Instruct certbot to handle cryptographic challenge using its built-in web server.-d: Specify the ThreatLockDown dashboard FQDN (Fully Qualified Domain Name).<YOUR_DOMAIN_NAME>: Sample fully qualified domain name.
Confirm that the certificates are generated:
# ls -la /etc/letsencrypt/live/<YOUR_DOMAIN_NAME>/
The output of the command generally returns the following:
cert.pem
chain.pem
fullchain.pem
privkey.pem
README
Where:
README: contains information about the certificate files.privkey.pem: This is the private key for the certificate.fullchain.pem: This is the SSL certificate, bundled with all intermediate certificates.
Configuring Let’s Encrypt SSL certificates in the ThreatLockDown dashboard
Copy the generated Let’s Encrypt certificates from the directory
/etc/letsencrypt/live/<YOUR_DOMAIN_NAME>/to the ThreatLockDown dashboard certificate directory/etc/wazuh-dashboard/certs:# cp /etc/letsencrypt/live/<YOUR_DOMAIN_NAME>/privkey.pem /etc/letsencrypt/live/<YOUR_DOMAIN_NAME>/fullchain.pem /etc/wazuh-dashboard/certs/
Add the Let’s Encrypt certificates to the ThreatLockDown dashboard by editing the configuration file
/etc/wazuh-dashboard/opensearch_dashboards.ymlreplacing the old certificates with the configuration below:server.ssl.key: "/etc/wazuh-dashboard/certs/privkey.pem" server.ssl.certificate: "/etc/wazuh-dashboard/certs/fullchain.pem"
After editing, you get a configuration file like the one below:
server.host: 0.0.0.0
opensearch.hosts: https://127.0.0.1:9200
server.port: 443
opensearch.ssl.verificationMode: certificate
# opensearch.username: kibanaserver
# opensearch.password: kibanaserver
opensearch.requestHeadersWhitelist: ["securitytenant","Authorization"]
opensearch_security.multitenancy.enabled: false
opensearch_security.readonly_mode.roles: ["kibana_read_only"]
server.ssl.enabled: true
server.ssl.key: "/etc/wazuh-dashboard/certs/privkey.pem"
server.ssl.certificate: "/etc/wazuh-dashboard/certs/fullchain.pem"
opensearch.ssl.certificateAuthorities: ["/etc/wazuh-dashboard/certs/root-ca.pem"]
uiSettings.overrides.defaultRoute: /app/wz-home
opensearch_security.cookie.secure: true
Modify the permissions and ownership of the certificates:
# chown -R wazuh-dashboard:wazuh-dashboard /etc/wazuh-dashboard/
# chmod -R 500 /etc/wazuh-dashboard/certs/
# chmod 440 /etc/wazuh-dashboard/certs/privkey.pem /etc/wazuh-dashboard/certs/fullchain.pem
Restart the ThreatLockDown dashboard service:
# systemctl restart wazuh-dashboard
# service wazuh-dashboard restart
The Let’s Encrypt certificate installation on the ThreatLockDown dashboard is now ready, and you can proceed to access it by using the configured domain name.
Configuring auto-renewal of the certificates
The generated Let’s Encrypt certificates are valid for ninety days. The certbot package previously installed renews the certificate by adding a renewal script to the /etc/cron.d directory on the ThreatLockDown dashboard. This script runs twice a day and will renew the certificate when it is within thirty days of expiration. Also, a renewal hook, renew_hook is added to the configuration to restart or reload the ThreatLockDown dashboard for the renewed certificate to apply.
Configure the renew_hook using the following steps
Edit the domain configuration file at
/etc/letsencrypt/renewal/<YOUR_DOMAIN_NAME>.confand add the renewal hook at the end of the file:# renew_before_expiry = 30 days version = 1.32.0 archive_dir = /etc/letsencrypt/archive/<YOUR_DOMAIN_NAME> cert = /etc/letsencrypt/live/<YOUR_DOMAIN_NAME>/cert.pem privkey = /etc/letsencrypt/live/<YOUR_DOMAIN_NAME>/privkey.pem chain = /etc/letsencrypt/live/<YOUR_DOMAIN_NAME>/chain.pem fullchain = /etc/letsencrypt/live/<YOUR_DOMAIN_NAME>/fullchain.pem # Options used in the renewal process [renewalparams] account = pa269247c1c3c97ec12ka01fa0f456bb authenticator = standalone server = https://acme-v02.api.letsencrypt.org/directory key_type = rsa renew_hook = systemctl restart wazuh-dashboard
Test the renewal hook by running the command below:
# certbot renew --dry-run
The output looks like this:
   Saving debug log to /var/log/letsencrypt/letsencrypt.log

   - - - - - - - - - - - - - - - - - - - - - - - - - - - - - - - - - - - - - - - -
   Processing /etc/letsencrypt/renewal/<YOUR_DOMAIN_NAME>.conf
   - - - - - - - - - - - - - - - - - - - - - - - - - - - - - - - - - - - - - - - -
   Simulating renewal of an existing certificate for <YOUR_DOMAIN_NAME>

   - - - - - - - - - - - - - - - - - - - - - - - - - - - - - - - - - - - - - - - -
   Congratulations, all simulated renewals succeeded:
   /etc/letsencrypt/live/<YOUR_DOMAIN_NAME>/fullchain.pem (success)
   - - - - - - - - - - - - - - - - - - - - - - - - - - - - - - - - - - - - - - - -
